
Feature flags provide a lot of flexibility to application development. One of my favorite benefits of feature flags involves separating my code deployment from my feature enablement. With feature flags in my Node apps, I’m able to push all my latest code to production and not worry about unfinished features that I’m still working on.
In this post, you’re going to develop a small application programming interface using Node.js and Express, while also using a feature flag to disable some functionality that’s not quite ready for prime time. For the exercise, you’ll be creating a small library API. The API will include functionality to GET all the books, GET a particular book, POST a new book, and DELETE a book.
The app will not persist the data permanently to keep the app as simple as possible. You’ll use an array to hang on to the data in memory, as you don’t yet need the complications of a database or other dependencies.
Let’s get started.
Prerequisites – Node.js, cURL, and Split
First, let’s make sure you have Node installed. If not, follow these instructions.
To manually test the API, I’m going to be using cURL. However, you can use Postman or any other tool you’re comfortable with.
You’ll also want to sign up for a free developer account with Split if you haven’t already. Later on, you’ll incorporate our JavaScript SDK with your app.
Set Up Your Node App
Once you have your prerequisites, you can begin by creating a directory in your normal workspace called library.
mkdir library
cd libraryCode language: Delphi (delphi)Then, you’ll initialize the new project with npm init. You can stick to defaults for now. In the code sample below, I’ve run the npm init command and set server.js as my entry point. If the package.json that comes out the other side looks good, go ahead and click ENTER or type YES to move forward.
Your package.json file should look like this:
{
  "name": "library",
  "version": "1.0.0",
  "description": "",
  "main": "server.js",
  "scripts": {
    "test": "echo \"Error: no test specified\" && exit 1"
  },
  "author": "Sylvia",
  "license": "ISC"
}Code language: JSON / JSON with Comments (json)
To make changes easy to validate, you’re going to add in nodemon so that you don’t have to manually restart the app. Nodemon will detect changes and reload the app for you.
npm install --save-dev nodemon
You’re also going to add the Split SDK and Express to your library application.
npm install --save @splitsoftware/splitio express
As long as you’re using Express 4.16 or higher, you’re all set. No need to install body-parser as you may have in the past. I’m using Express 4.17.1.
Next, add a script to the package.json file to define what Nodemon will use to start the app.
 "scripts": {
    "test": "echo \"Error: no test specified\" && exit 1",
    "dev": "nodemon server.js" // <-- add this line
  }Code language: Arduino (arduino)
And then finally, you’ll create a server.js with just the minimum configuration. This lets you see if the app starts up and shows that everything is wired up correctly.
const express        = require('express');
const port = 8000;
const app            = express();
app.listen(port, () => { console.log('greetings!');});Code language: JavaScript (javascript)
Now when you run npm run dev from the command line, you should see the following:
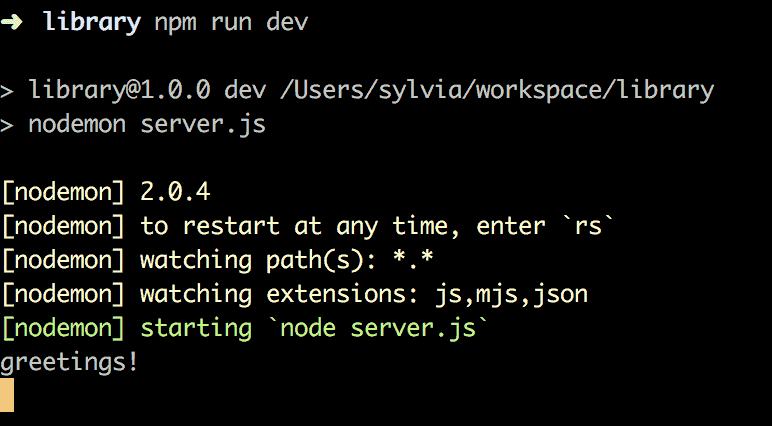
OK, so now that you have the basics, let’s move on to the next step.
Let’s Build an API with Node.js
First, you’ll add a book_routes.js to your/routes folder.
In the /routes/book_routes.js file, I’ve defined some of your HTTP methods that your API will support. Also, I’m going to add some basic error handling to deal with issues that you may run into. You might not use all of these in your implementation yet, as you’re going to be sneaky with how you’re storing your books.
const express = require('express');
const router = express.Router();

const book = require('../models/book');

router.get('/', (req, res) => {
    res.json(book.getBooks());
})

router.get('/:id', (req, res) => {
    const id = req.params.id;
    res.json(book.getBook(id));
})

router.post('/', (req, res) => {
    let newBook = book.insertBook(req.body);

    res.status(201).json({
        message: `The book #${newBook.id} has been created`,
        content: newBook
    });
})

router.put('/:id', (req, res) => {
    const id = req.params.id;

    book.updateBook(id, req.body);

    res.json({
        message: `The book #${id} has been updated`,
        content: book
    });
})
module.exports = routerCode language: JavaScript (javascript)
And speaking of books, I’m also going to create a /models/book.js file to define your book model. This will not only hold your books array with a couple of starter books but also will add some functions to resolve the books that are in the array.
const helper = require('./array_helper.js')

var books = [
    {
        "id": 1,
        "title": "Horton Hears a Who",
        "author": "Dr. Seuss"
    },
    {
        "id": 2,
        "title": "A Brief History of Time",
        "author": "Stephen Hawking"
    }
];

function getBooks() {
    if (books.length === 0) {
        return ({
            message: 'no books available',
            status: 202
        });
    }
    return books;
}

function getBook(id) {
    return helper.retrieveFromArray(books, id);
}

function insertBook(newBook) {
    const id = { id: helper.getNextId(books) }
    newBook = { ...id, ...newBook }
    books.push(newBook);
    return newBook;
}

function updateBook(id, newBook) {
    try {
        let existingBook = helper.retrieveFromArray(books, id);

        const index = books.findIndex(b => b.id == existingBook.id);
        id = { id: existingBook.id };
        books[index] = { ...id, ...newBook };
        return books[index];
    } catch (err) {
        return err;
    }
}

function deleteBook(id) {
    books = books.filter(b => b.id !== id);
}

module.exports = {
    insertBook,
    getBooks,
    getBook,
    updateBook,
    deleteBook
}Code language: JavaScript (javascript)
And I’ll also add a small helper class to make working with the arrays a bit simpler, called /models/array_helper.js. This file will define functions to get you the next ID for any books you add. Also, it’ll validate that a book is in your book array.
const getNextId = (array) => {
    if (array.length > 0) {
        return array[array.length - 1].id + 1
    } else {
        return 1;
    }
}

function mustBeInArray(array, id) {
    const row = array.find(r => r.id == id)
    if (!row) {
        return({
            message: 'Not Found',
            status: 404
        })
    }
    return row;
}

function retrieveFromArray(array, id) {
    const row = array.find(r => r.id == id)
    if (!row) {
        return({
            message: 'Not Found',
            status: 404
        })
    }
    return row;
}

module.exports = { getNextId, mustBeInArray, retrieveFromArray }Code language: PHP (php)
Then, you’ll add your routes to your /server.js with the following line. This can go right above where you begin listening to your express app.
//new line
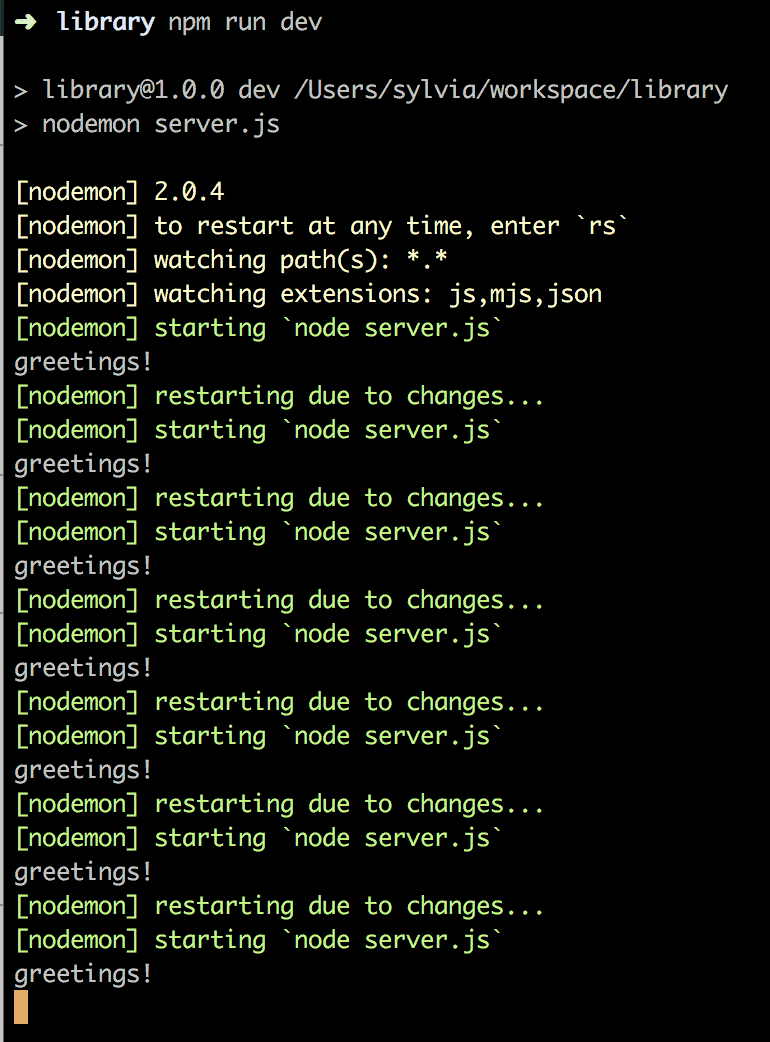
app.use('/books', express.json(), require('./routes/book_routes'));Code language: JavaScript (javascript)If you still have your app running, you’ll see that it’s refreshed a few times. And as long as everything’s good, the application will still greet you with its friendly hello.
Test Your Node App
Next, test out the app with either cURL commands or Postman to make sure everything works as expected. As mentioned previously, I’ll be using cURL, as the API is fairly simple and easy to use.
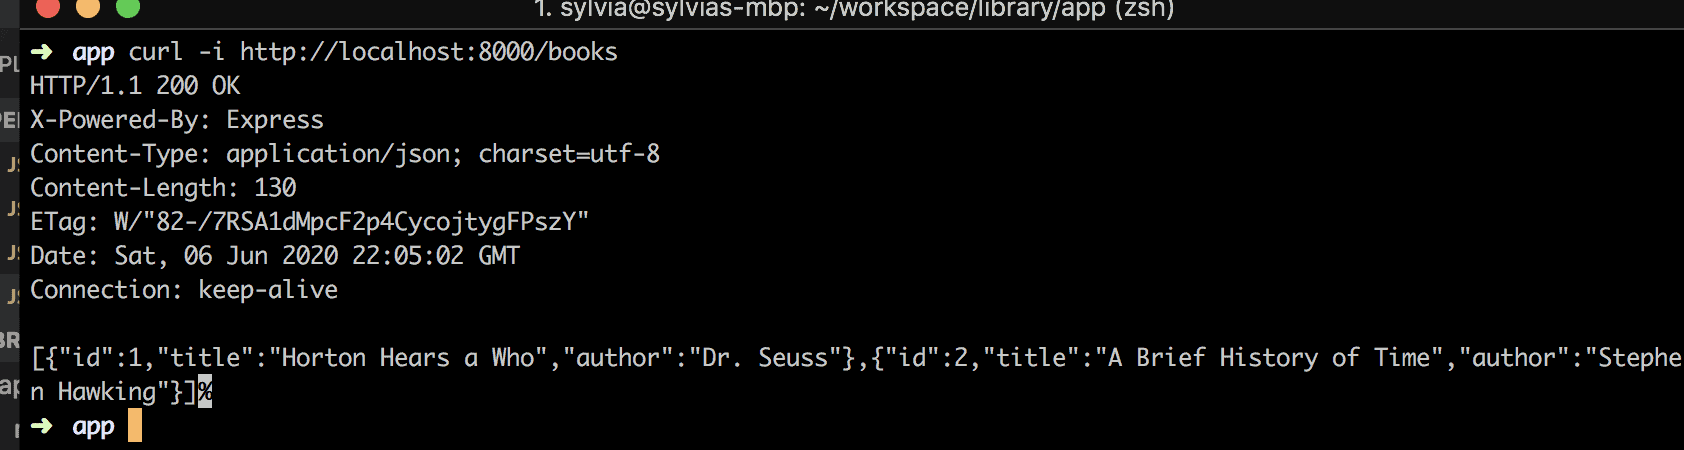
First, do a GET call to see all the books in the library.
curl -i http://localhost:8000/books
And if everything has been wired together correctly, you’ll see this result.
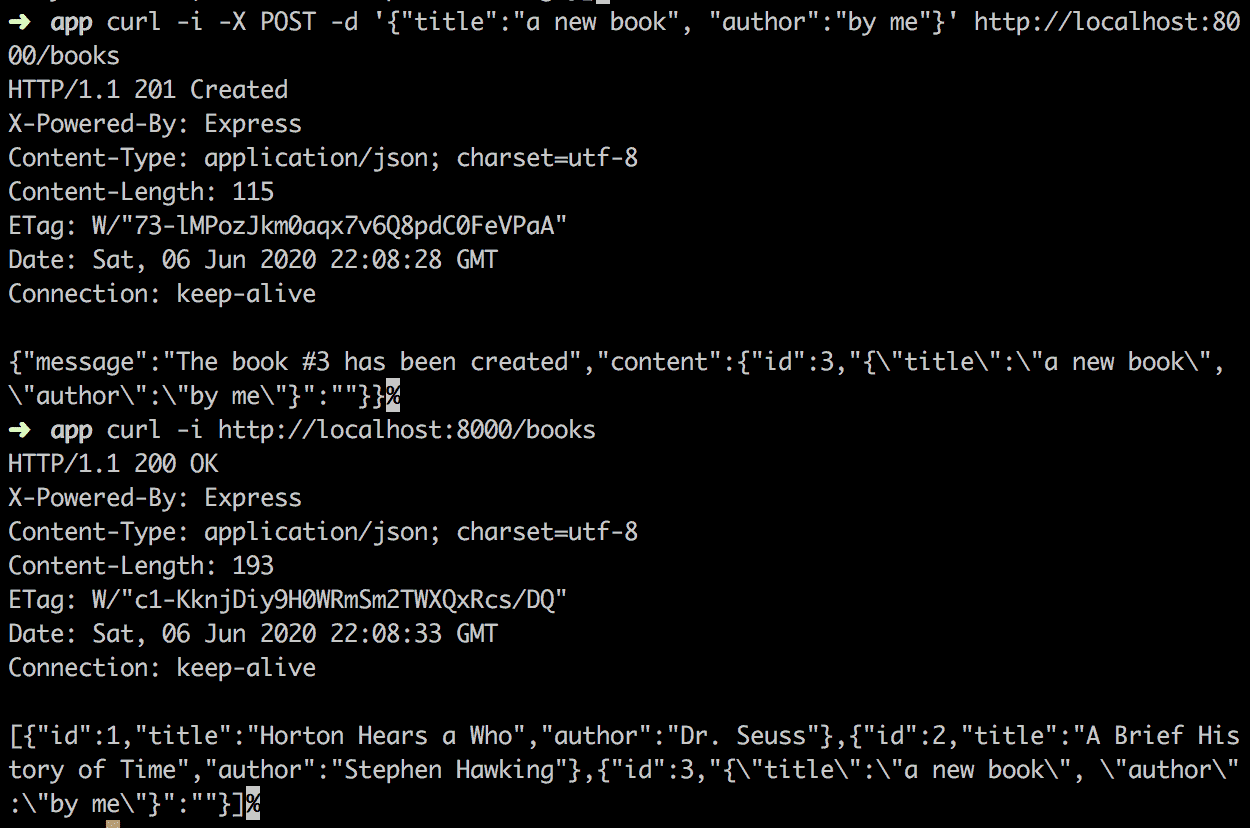
Next, let’s use your API to add a book as well, using a POST method, and then do another GET to see that it’s been added to the library.
curl -i -X POST -H Content-Type:application/json -d '{"title":"a new book", "author":"by me"}' http://localhost:8000/booksCode language: Scala (scala)As you can see in this screenshot, you’ve now added a new book to the array and verified that it shows up when you do a GET to see all the books.
You can then go through and test all your other cURL commands to validate that your endpoints are working. I’m going to leave that for you to do yourself, and then you’ll move on to the next section.
Add Feature Flags to Your Node App
Next, let’s say you’re working on implementing the DELETE functionality. You may not want this available to your users yet, so you’re going to add in a feature flag to make sure it’s not enabled yet.
First, create the split and treatment in Split.
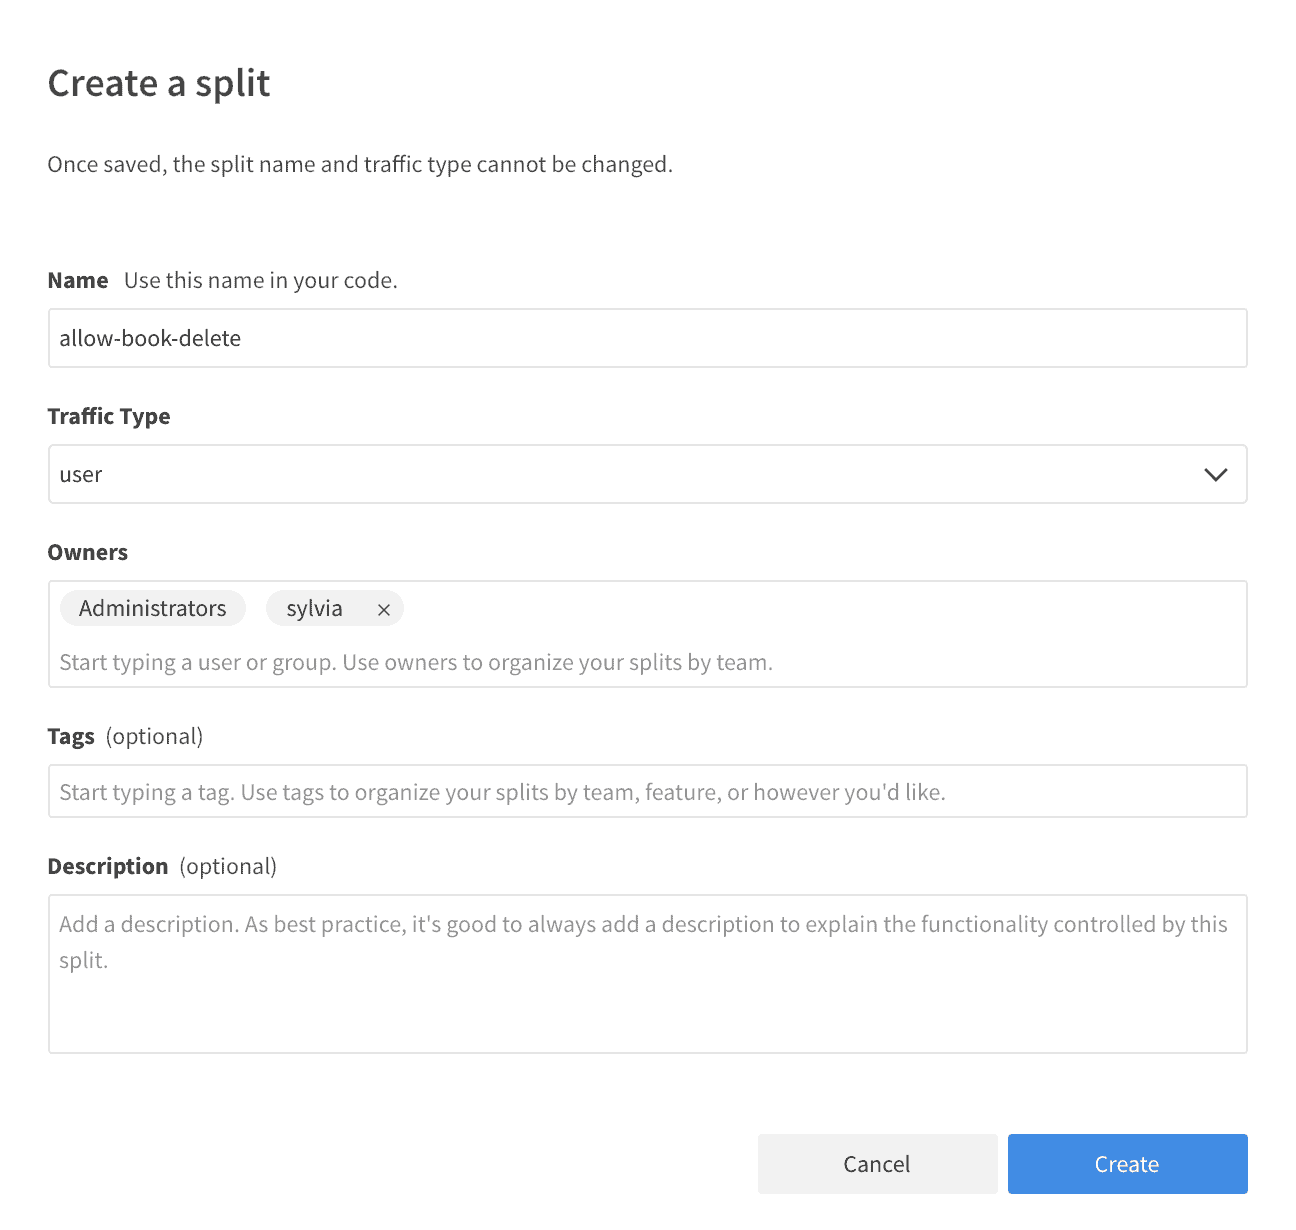
Once you’ve created your treatment, you can add a rule. For now just create a rule in staging, with all the default options. You can also quickly copy treatments from your staging setup over to prod. For right now I’m going to leave the treatment set to off.
You’ll also have to get your Split API Key. To find your API key, head over to your Split dashboard, click on the workspace button on the top left. Then go to Admin Settings and click on API Keys.
There you’ll see keys for each environment and type of key. For today’s demo, we’ll be using the API key for an SDK in staging.

As this is just a demo, we’ll make a simple environment variables file to store our API key.
First, install dotenv by running the following command.
npm install dotenv
Also, you can add the following line to your server.js.
///…
app = new express();
require('dotenv').config({path: __dirname + '/.env'}) //<--- add this line after instantiating the express appCode language: JavaScript (javascript)
And then create a .env file at the root of your project with the following contents.
# SPLIT API Key
SPLIT_API_KEY=<YOUR_API_KEY>Code language: Gherkin (gherkin)
You can replace the text that says with the key you copied from the split dashboard in the .
Next, create a /split_helper.js file that will create your splitClient. To keep things simple, I’ll use console.log() to let you know once the client is ready, so you’ll know you’re wired up correctly.
var SplitFactory = require('@splitsoftware/splitio').SplitFactory;
const splitApiKey = process.env['SPLIT_API_KEY'];
var factory = SplitFactory({
  core: {
    authorizationKey: splitApiKey;
  }
});
var splitClient = factory.client();

splitClient.on(splitClient.Event.SDK_READY, function() {
    console.log('split.io sdk is ready');
});
async function isTreatmentOn(treatmentToCheck){
    let result = await splitClient.getTreatment("ANONYMOUS_USER", treatmentToCheck);
    if(result == 'on'){
        return true;
    } else {
        return false;
    }
}
module.exports = isTreatmentOn;Code language: JavaScript (javascript)
And next, you’ll add a delete route that uses the treatment to determine if you should let the user delete a book or not. As I mentioned before, we don’t want to enable this logic for all our users yet.
For this logic, I’m going to allow deletions if the treatment is turned on. And if it’s turned off, or if you’re getting “control” back from the client, you’ll want the application to respond with a message telling the user that they aren’t authorized.
First, add the following line to the top of your /routes/book_routes.js file to import your treatment function.
const isTreatmentOn = require('../split_helper.js');
And then add in your delete function.
router.delete('/:id', async (req, res) => {
    if (await isTreatmentOn('allow-book-delete')){
        const id = Number(req.params.id);

        book.deleteBook(id);

        res.json({
            message: `The book #${id} has been deleted`
        });
    } else {
        res.status(403).json({ message: "You are not allowed" });
    }
})Code language: JavaScript (javascript)
Now you can test whether the treatment lets you delete the book or not. For this, you can flip the default rule on and off for your treatment.

Try the following command with the Split treatment turned both off and on.curl -i -X DELETE http://localhost:8000/books/2

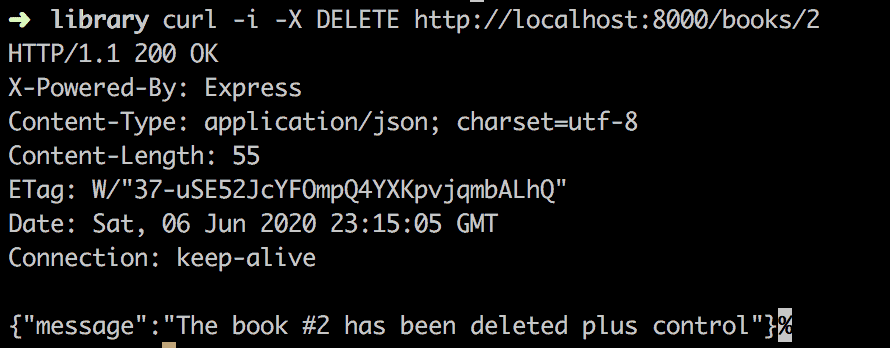
As you can see, the feature flag either allowed you to delete books or not, based on the treatment that you’ve set up in your Split admin screens.
And there you have it. You’ve created a simple Node API and added in your s\Split client quickly and easily. Now you can start experimenting with feature flags, as well as building out the rest of your application.
Learn More About Feature Flags, Experimentation, and Node.js
Now it’s your turn. You’ve got the basic setup. Next, add functionality to your library application with features that you want to see. Also, start experimenting with more advanced feature flag options provided by Split.
To learn more about features flags, experimentation, and secure software development in Node, we encourage you to check out these resources:
- Did Feature Flags Kill the Canary?
- How to Branch by Abstraction with Feature Flags
- How to Implement Testing in Production
- How to Experiment During Extreme Seasonality
- Build a Weight Tracker App with Node and PostgresQL
And as always, we’d love to have you following along as we release more content and updates. Check us out on your social media platform of choice!
Get Split Certified
Split Arcade includes product explainer videos, clickable product tutorials, manipulatable code examples, and interactive challenges.
Switch It On With Split
The Split Feature Data Platform™ gives you the confidence to move fast without breaking things. Set up feature flags and safely deploy to production, controlling who sees which features and when. Connect every flag to contextual data, so you can know if your features are making things better or worse and act without hesitation. Effortlessly conduct feature experiments like A/B tests without slowing down. Whether you’re looking to increase your releases, to decrease your MTTR, or to ignite your dev team without burning them out–Split is both a feature management platform and partnership to revolutionize the way the work gets done. Switch on a free account today, schedule a demo, or contact us for further questions.